

What is CORS?
Cross-origin resource sharing (CORS) defines a way for client web applications that are loaded in one domain to interact with resources in a different domain. With CORS support, you can build rich client-side web applications with Amazon S3 and selectively allow cross-origin access to your Amazon S3 resources.
How does CORS work?
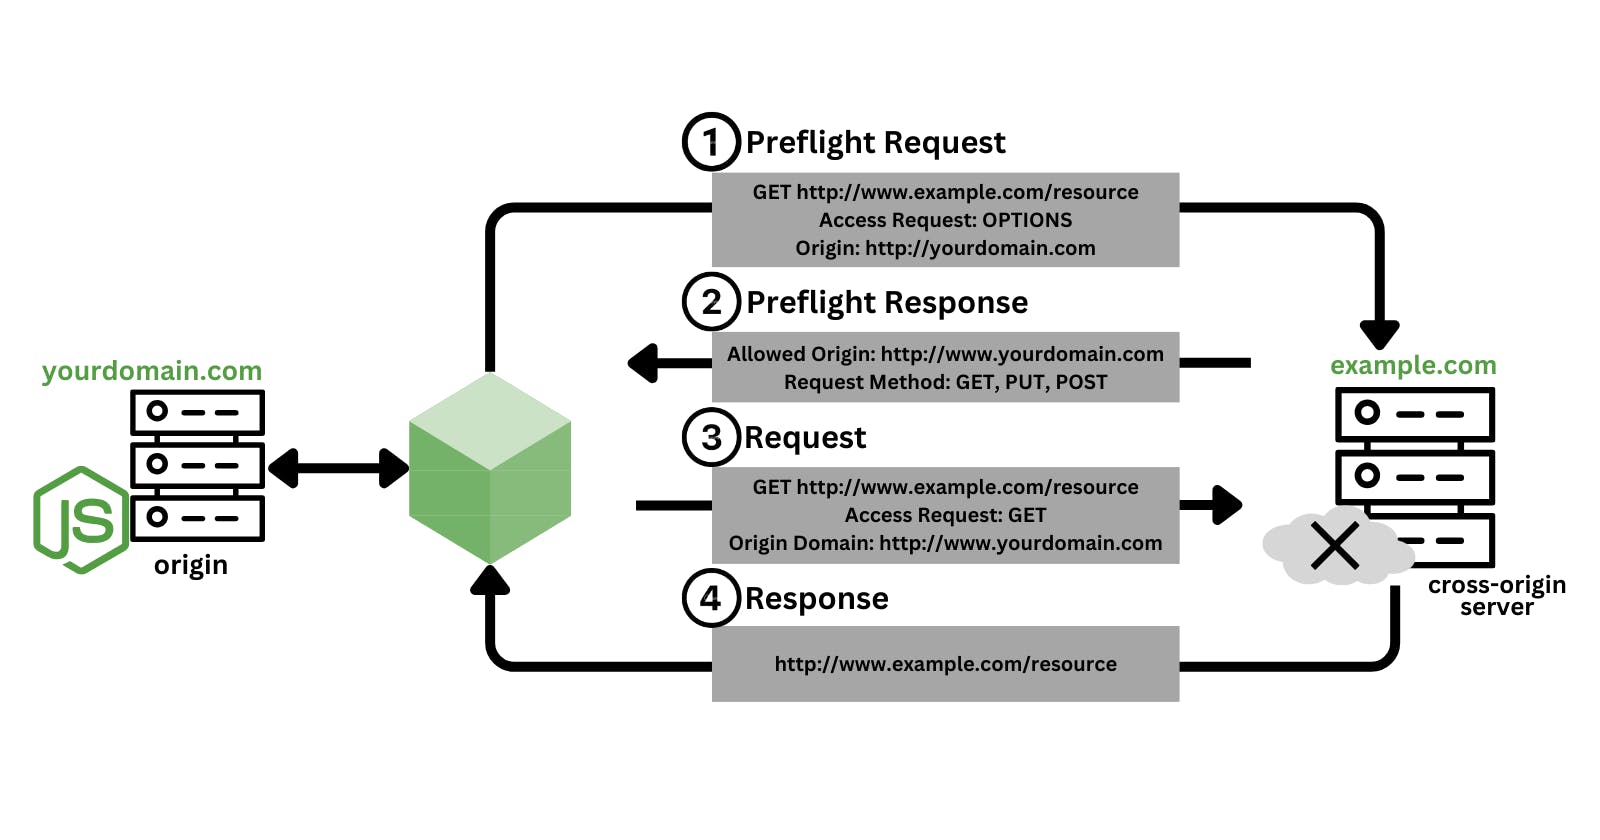
In the simplest case, your browser script makes a GET request for a resource from a server in another domain. Depending on the CORS configuration of that server, if the request is from a domain that's authorized to submit GET requests, the cross-origin server responds by returning the requested resource.
If either the requesting domain or the type of HTTP request is not authorized, the request is denied. However, CORS makes it possible to preflight the request before actually submitting it. In this case, a preflight request is made, and the "option" access request operation is sent. If the cross-origin server's CORS configuration grants access to the requesting domain, the server sends back a preflight response that lists all the HTTP request types that the requesting domain can make on the requested resource.
Configure CORS for an Amazon S3 bucket
Create two S3 buckets:
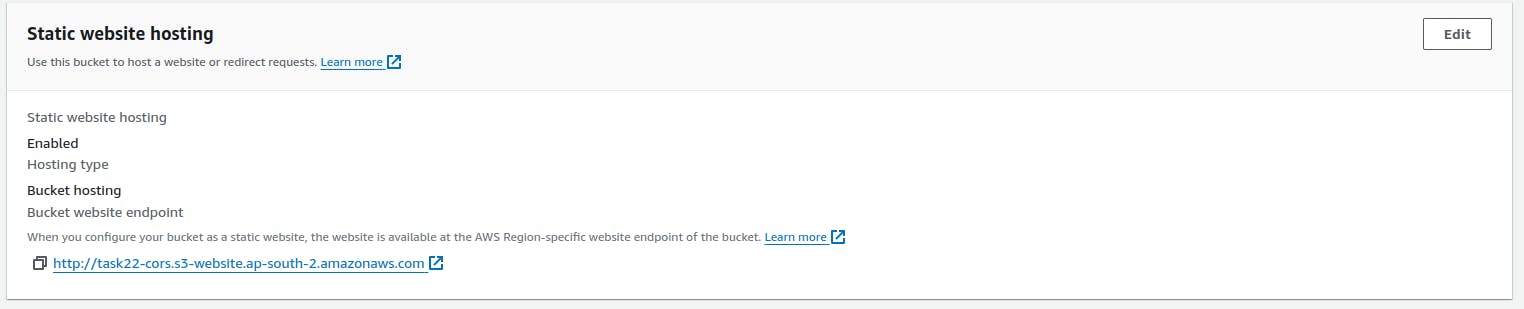
Enable static website hosting under the properties section for each bucket
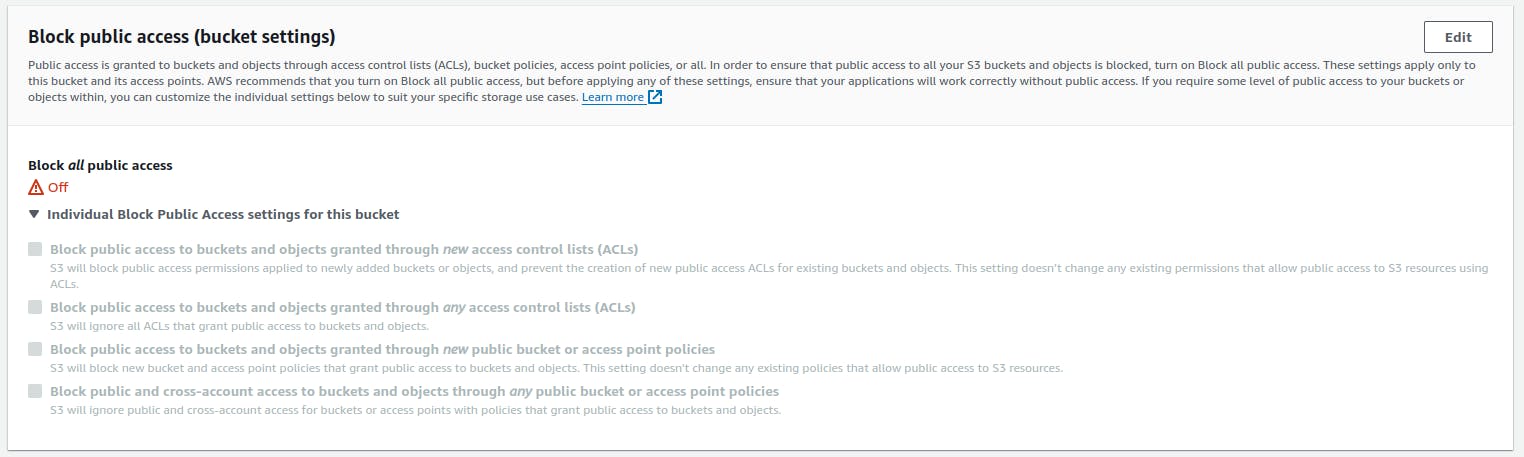
Create two Amazon S3 buckets without "block all public access" checked.
Set Bucket Policy:
Create a bucket policy under the permission section for each bucket.
Note: Provide a unique ARN for each bucket. Additionally, include "/*" to allow access to every object within it.
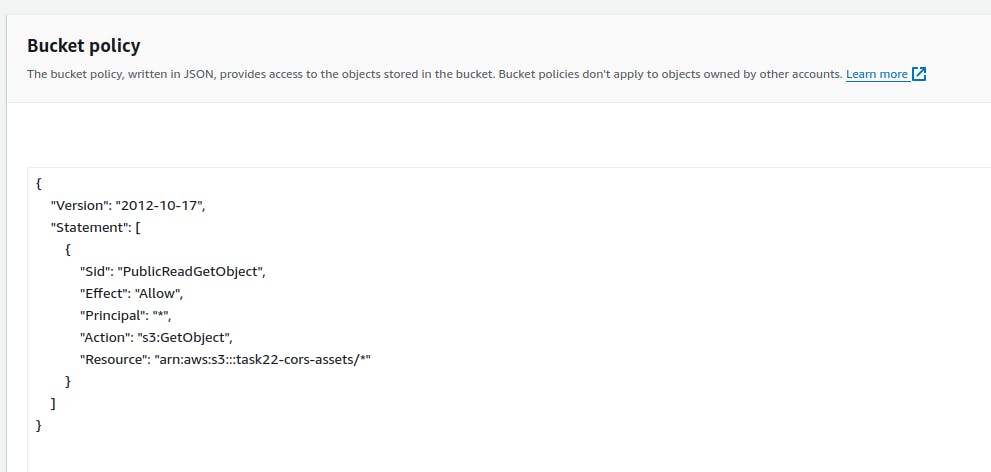
{ "Version": "2012-10-17", "Statement": [ { "Sid": "PublicReadGetObject", "Effect": "Allow", "Principal": "", "Action": "s3:GetObject", "Resource": "<bucket-arn>/" } ] }
Upload website files:
Upload your website files to the first bucket, including the CORS file path.
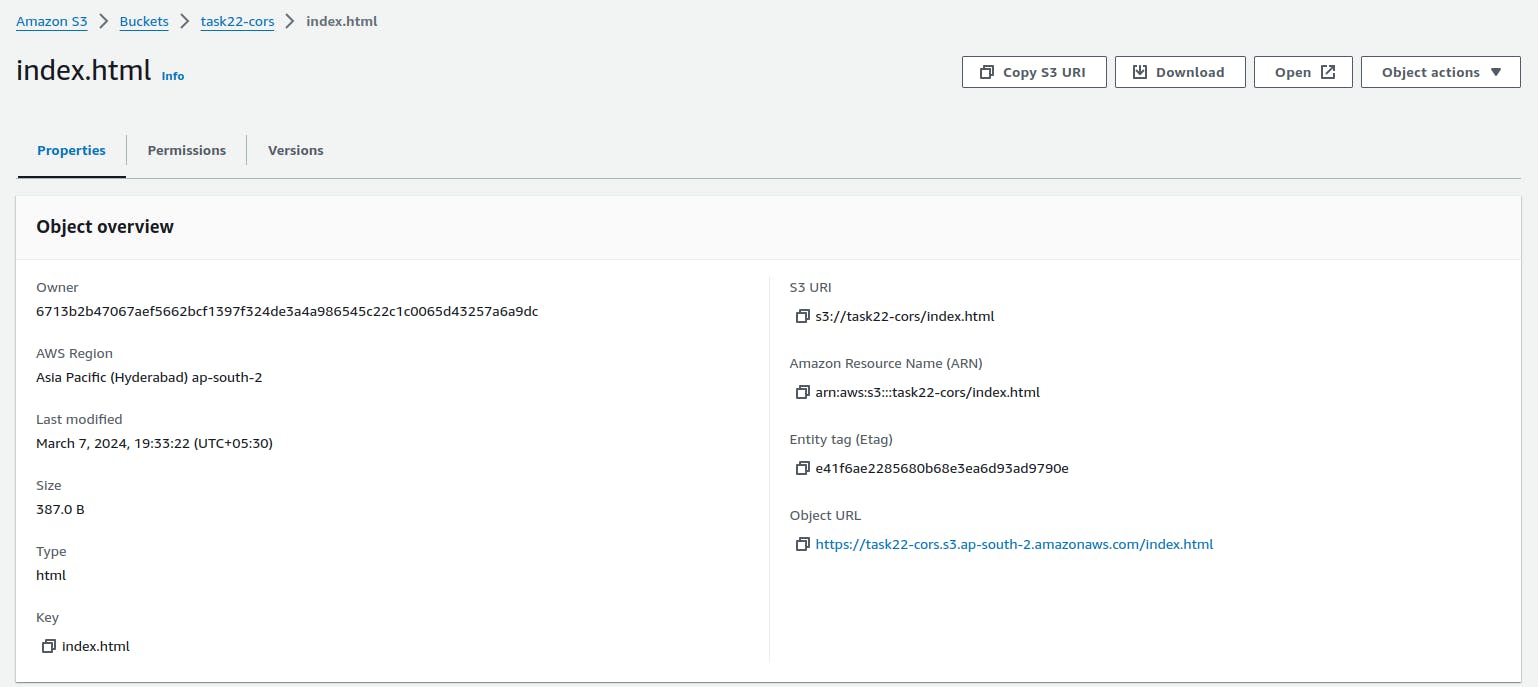
Here is the content of the index.html file:
<?pre><html> <head> <script src="https://ajax.googleapis.com/ajax/libs/jquery/3.6.4/jquery.min.js"></script> <script> $(document).ready(function () { $("#div1").load("<main-bucket-pucli-website-hosting-url>"); }); </script> </head> <body> <h1>this is testing website.</h1> <div id="div1"></div> </body> </html><?/pre>
Upload a CORS-Enabled File:
Upload your CORS-enabled file to the second bucket.
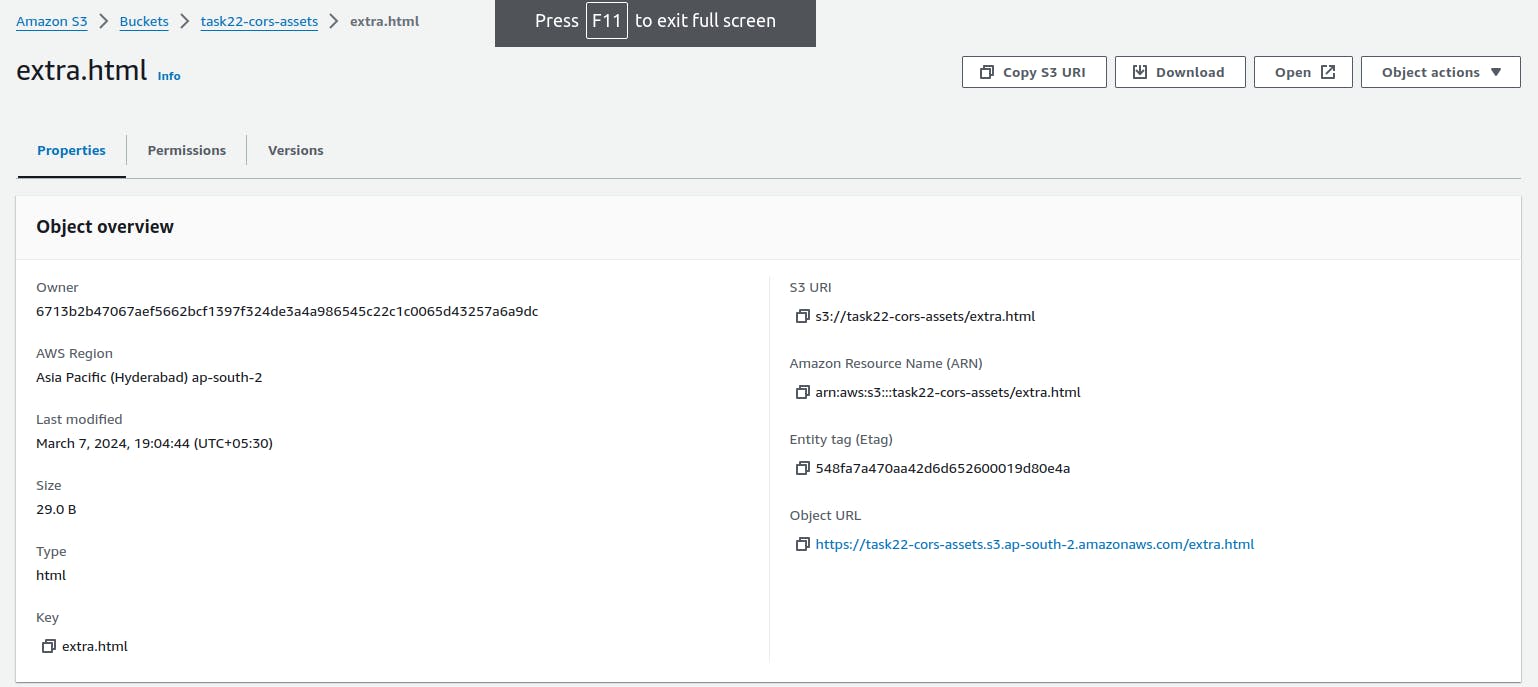
Here is the content of the extra.html file:
<h3>This is an extra page.</h3>
Enter the CORS content in the permission tab for this bucket.
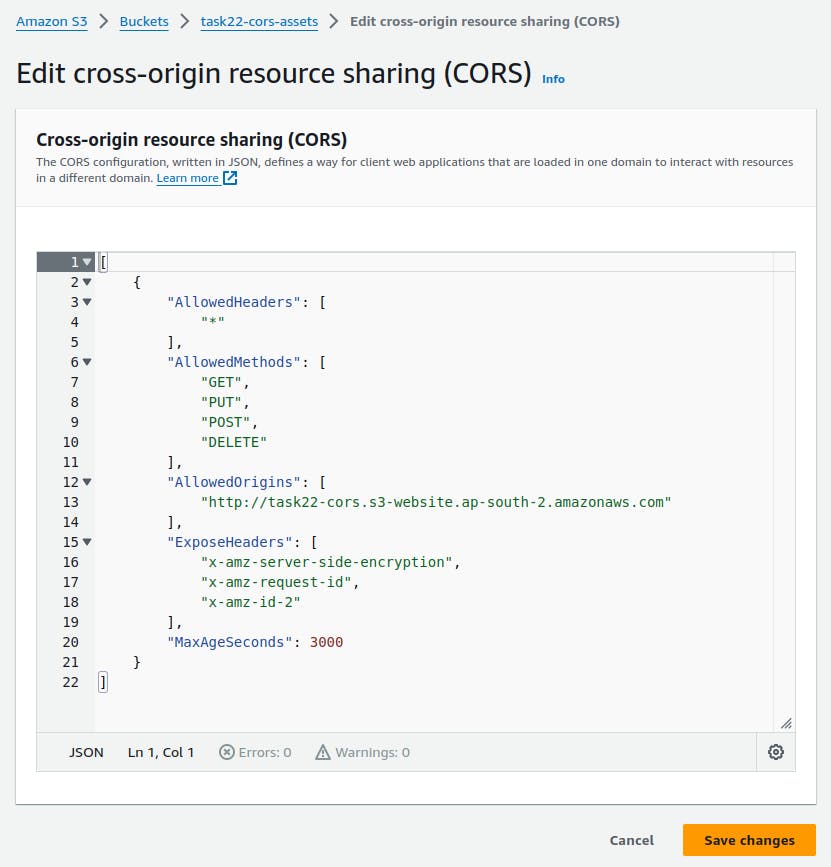
Note: There should not be a slash at the end of the URL for the static AllowedOrigins website.
Here is the content of the CORS policy:
[{"AllowedHeaders": ["*"], "AllowedMethods": [ "GET", "PUT", "POST","DELETE"], "AllowedOrigins": [ "<public-access-bucket-url>" ], "ExposeHeaders": ["x-amz-server-side-encryption","x-amz-request-id", "x-amz-id-2" ],"MaxAgeSeconds": 3000}]
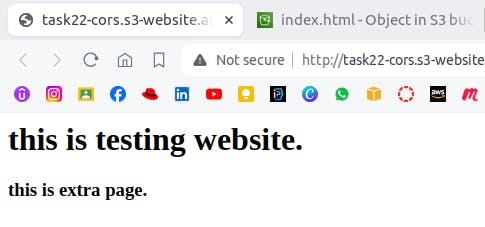
Access Website:
Go to the static website hosting URL in your browser to access the website.
Conclusion
To summarise, setting up an Amazon S3 static website with CORS (Cross-Origin Resource Sharing) entails creating two S3 buckets, enabling static website hosting, configuring bucket policies, uploading website files with the CORS file path, and uploading a CORS-enabled file to a separate bucket with appropriate permissions. When users access the website via the provided URL, they can interact with the content seamlessly across multiple origins.